3D printing for beginners can feel overwhelming at first. New terms, unfamiliar machines, and endless filament options create confusion. But here’s the good news: getting started is easier than most people think.
This guide breaks down the basics of 3D printing into clear, actionable steps. Readers will learn how 3D printers work, which machines suit home use best, and what equipment they actually need. By the end, anyone can feel confident enough to start their first print.
Table of Contents
ToggleKey Takeaways
- 3D printing for beginners starts with understanding that printers build objects layer by layer using digital designs converted into G-code instructions.
- FDM printers are the best choice for beginners due to their affordability, ease of use, and forgiving learning curve.
- PLA filament is ideal for newcomers—it’s inexpensive, easy to print, and doesn’t require special ventilation or enclosures.
- Proper bed leveling is the most critical factor for successful prints, so always check it before starting a project.
- Start with simple models like calibration cubes or benchy boats to learn how your printer behaves before tackling complex designs.
- Free software like Cura, PrusaSlicer, and Tinkercad provides everything beginners need for slicing and basic 3D design.
What Is 3D Printing and How Does It Work?
3D printing turns digital designs into physical objects. A computer sends instructions to a 3D printer, which builds items layer by layer. This process is called additive manufacturing because material gets added rather than cut away.
Most home 3D printers use a method called Fused Deposition Modeling (FDM). The printer heats plastic filament until it melts. A nozzle then deposits this melted plastic onto a build plate in thin layers. Each layer cools and hardens before the next one goes on top. Hundreds or thousands of these layers create a finished object.
The process starts with a 3D model file, typically in STL or OBJ format. Slicing software converts this file into G-code, the instructions that tell the printer where to move and how much filament to extrude. Think of slicing software as a translator between the design and the machine.
3D printing for beginners becomes much simpler once this basic concept clicks. The printer follows a recipe, and the slicer writes that recipe from a digital blueprint.
Types of 3D Printers for Home Use
Three main types of 3D printers work well for home users. Each has strengths and trade-offs worth understanding.
FDM Printers
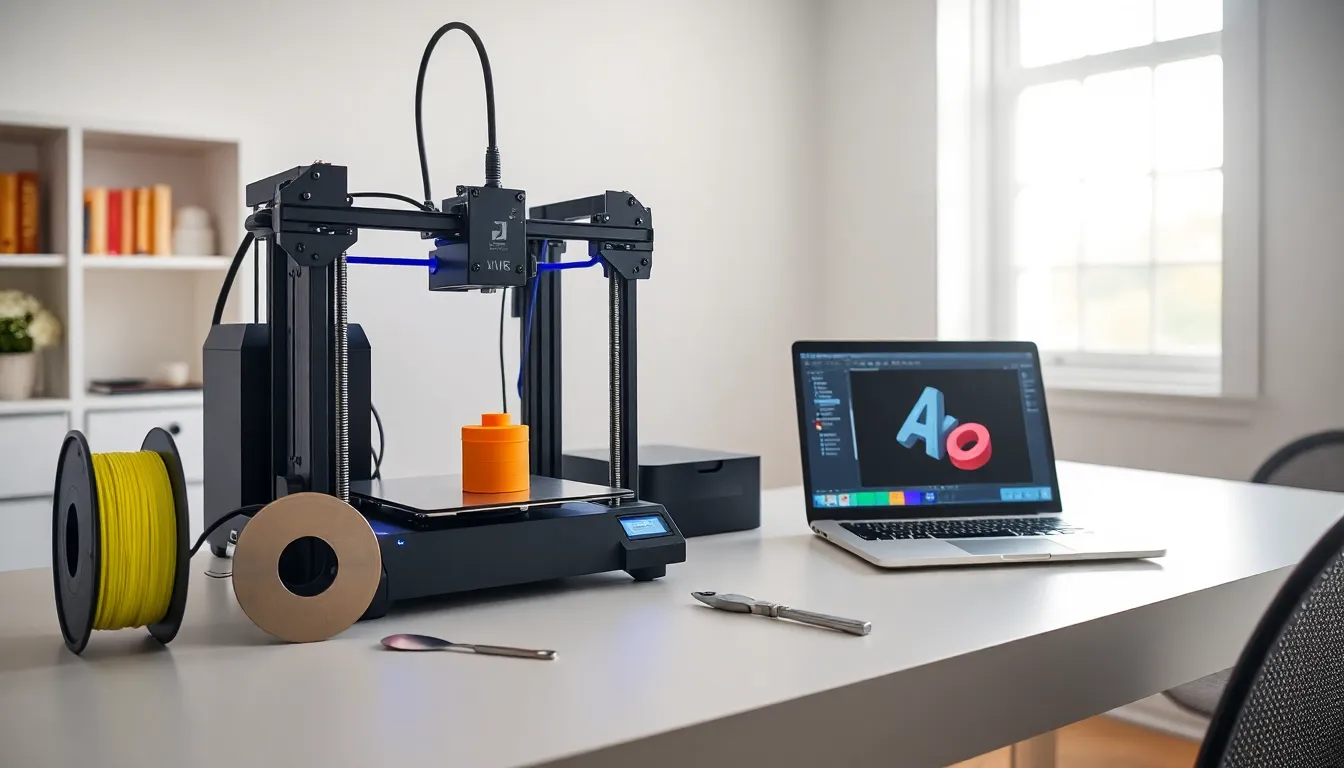
FDM (Fused Deposition Modeling) printers dominate the beginner market. They use plastic filament spools and cost between $150 and $500 for entry-level models. Popular brands include Creality, Anycubic, and Prusa. FDM printers handle functional parts, toys, and household items well. Print quality is good but not ultra-fine.
Resin Printers
Resin printers use liquid photopolymer that hardens under UV light. They produce extremely detailed prints with smooth surfaces. Miniature figures, jewelry, and dental models benefit from resin printing. But, resin requires more post-processing, including washing and curing. The liquid resin also needs careful handling due to skin sensitivity concerns.
Which Should Beginners Choose?
Most experts recommend FDM printers for 3D printing beginners. They’re more forgiving, cheaper to operate, and require less cleanup. Resin printers suit hobbyists who need fine detail and don’t mind extra steps. A quality FDM printer provides the best learning experience for newcomers.
Essential Equipment and Materials You Need
Starting 3D printing requires more than just a printer. A few additional items make the process smoother and more successful.
The Printer Itself
Budget between $200 and $400 for a reliable beginner 3D printer. The Creality Ender 3 series remains a popular choice in 2025. Look for models with auto-leveling features, they save hours of frustration. A heated bed helps prints stick properly and reduces warping.
Filament
PLA filament is the go-to material for 3D printing beginners. It’s affordable, easy to print, and doesn’t require a heated enclosure. A 1kg spool costs around $20-25 and lasts through many projects. PETG offers more durability but needs slightly higher temperatures. Avoid ABS as a first material: it warps easily and releases fumes.
Tools and Accessories
Several small tools improve the 3D printing experience:
- Scraper or spatula – removes prints from the build plate
- Flush cutters – trims support material cleanly
- Needle-nose pliers – removes small support pieces from tight spots
- Isopropyl alcohol – cleans the build surface for better adhesion
- Digital calipers – measures prints and checks accuracy
Software
3D printing for beginners involves free software. Cura and PrusaSlicer handle slicing duties excellently. Tinkercad offers simple design tools for creating custom models. All three programs cost nothing to download and use.
Tips for Your First Successful Print
First prints often fail. That’s normal. These tips increase the odds of success.
Level the Bed Properly
Bed leveling causes more failed prints than any other factor. The nozzle must maintain consistent distance from the build plate across the entire surface. Many 3D printers include auto-leveling, but manual checks still help. Use the paper test: slide a sheet between the nozzle and bed. It should drag slightly but still move freely.
Start with Simple Models
Resist the urge to print complex designs immediately. Simple shapes teach how the printer behaves. A calibration cube, benchy boat, or basic phone stand makes an excellent first project. These models reveal issues with settings before bigger prints waste time and filament.
Use Recommended Settings
Slicer software includes preset profiles for common printers and materials. 3D printing beginners should stick to these defaults initially. Experimenting with temperatures, speeds, and layer heights comes later. The presets exist because they work.
Watch the First Layer
The first layer determines print success about 80% of the time. Watch it go down. Lines should lay flat and slightly squish together. Gaps between lines mean the nozzle sits too high. Filament that doesn’t stick indicates a dirty bed or wrong temperature.
Keep Filament Dry
Moisture ruins filament. PLA absorbs humidity from the air, causing popping sounds and rough surfaces during printing. Store spools in sealed bags with desiccant packets. Some hobbyists use airtight containers or dedicated dry boxes.