3D printing strategies can make the difference between a flawless print and a tangled mess of plastic. Whether someone runs a small business or tinkers at home, the right approach saves time, money, and frustration.
The technology has become more accessible than ever. Printers cost less, materials have improved, and online communities share knowledge freely. Yet many users still struggle with failed prints, poor surface quality, and wasted filament.
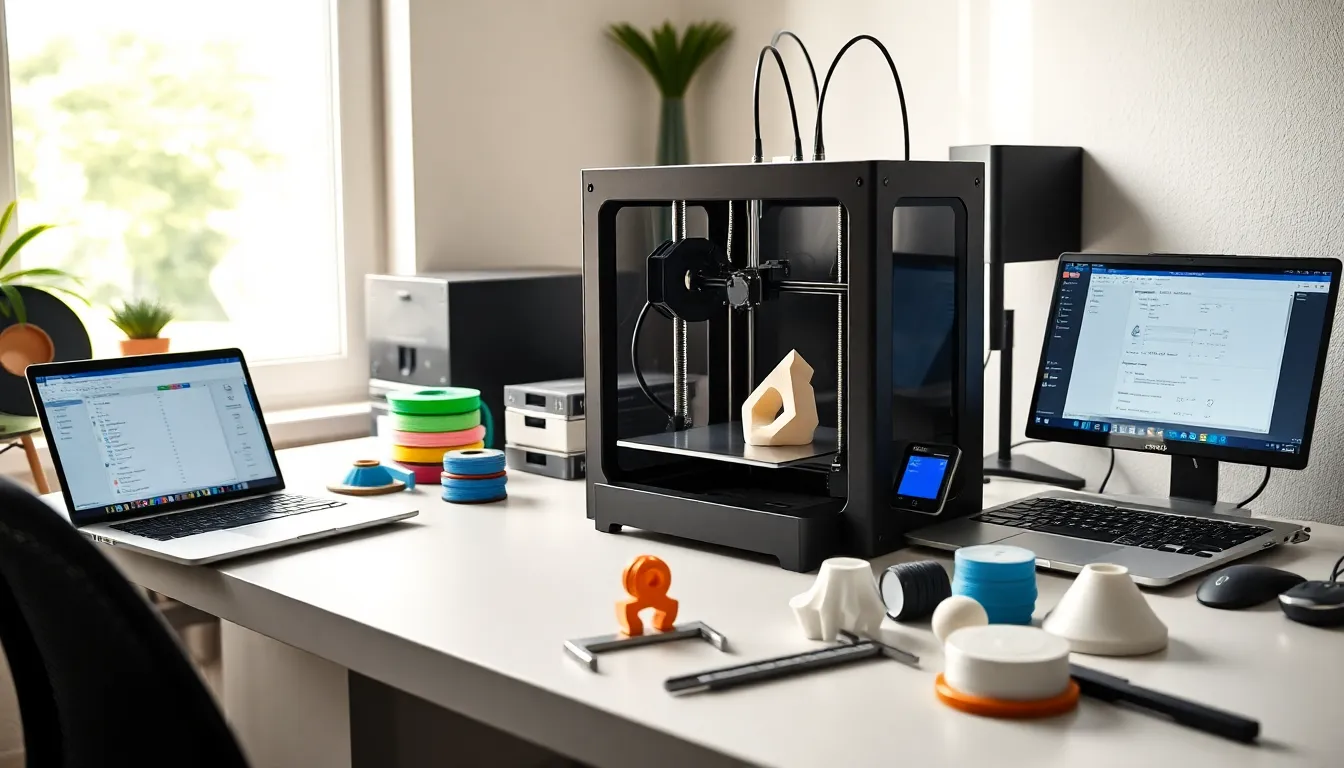
This guide covers practical 3D printing strategies that deliver real results. From understanding equipment to fine-tuning settings, these methods help users get more from their machines. The focus stays on actionable steps that work across different printer types and skill levels.
Table of Contents
ToggleKey Takeaways
- Effective 3D printing strategies start with proper printer calibration, including bed leveling and e-steps adjustment, to ensure consistent print quality.
- Choose the right material for your project—PLA for beginners, ABS for heat resistance, and PETG for a balance of strength and ease of printing.
- Optimize layer height between 0.16mm and 0.2mm for a good balance of detail and print speed on standard nozzles.
- Orient models strategically on the build plate to maximize strength and minimize the need for support structures.
- Regular maintenance like nozzle cleaning, bed surface prep, and belt tensioning prevents most common print failures.
- When troubleshooting failed prints, change only one variable at a time to identify what actually fixes the problem.
Understanding Your Printer and Materials
Every successful print starts with knowing the equipment. Users should learn their printer’s capabilities and limitations before attempting complex projects.
FDM (Fused Deposition Modeling) printers work by melting plastic filament and depositing it layer by layer. Resin printers use UV light to cure liquid resin into solid objects. Each type requires different 3D printing strategies.
Printer Calibration Basics
Bed leveling affects first-layer adhesion. A properly leveled bed ensures the nozzle maintains consistent distance from the print surface. Most printers need manual adjustment, though some offer automatic leveling.
E-steps calibration controls how much filament the extruder pushes. Incorrect settings cause under-extrusion or over-extrusion. Users can test this by marking 100mm of filament and measuring how much actually feeds through.
Material Selection
PLA remains the most beginner-friendly material. It prints at lower temperatures and doesn’t require a heated enclosure. The material works well for prototypes, decorations, and non-functional parts.
ABS offers better heat resistance but releases fumes during printing. Users need good ventilation and often an enclosure to prevent warping. PETG sits between PLA and ABS, it’s stronger than PLA without the printing challenges of ABS.
Specialty filaments like TPU (flexible), carbon fiber composites, and wood-filled materials require specific 3D printing strategies. Each material has optimal temperature ranges and speed settings that users should research before printing.
Optimizing Print Settings for Quality and Speed
Print settings determine surface quality, strength, and how long a job takes. Finding the right balance requires understanding what each parameter does.
Layer Height and Resolution
Layer height directly impacts print detail and time. A 0.1mm layer height produces smooth surfaces but takes twice as long as 0.2mm layers. For functional parts where appearance doesn’t matter, thicker layers work fine.
Most users find 0.16mm to 0.2mm offers a good compromise. These 3D printing strategies apply to standard 0.4mm nozzles, larger nozzles can handle thicker layers.
Speed Settings
Print speed affects quality more than most people realize. Faster speeds can cause ringing (visible waves near corners) and poor layer adhesion. Slower speeds improve quality but extend print time.
A good starting point is 50mm/s for perimeters and 60-80mm/s for infill. Users can experiment from there based on their printer’s performance. Some machines handle 100mm/s without issues, while others struggle above 40mm/s.
Temperature and Cooling
Nozzle temperature varies by material. PLA typically prints between 190-220°C. Too hot causes stringing and oozing. Too cold leads to weak layer bonds and clogs.
Part cooling fans help PLA and PETG solidify quickly. They should run at 100% for PLA but reduced or off for ABS. These 3D printing strategies prevent warping and improve overhang performance.
Infill Patterns and Density
Infill fills the interior of prints. Higher percentages create stronger parts but use more material and time. Most decorative items need only 10-15% infill. Functional parts benefit from 20-40%.
Grid and gyroid patterns offer good strength-to-weight ratios. Honeycomb looks nice in visible areas. Choosing the right pattern is an often-overlooked aspect of effective 3D printing strategies.
Design Considerations for Successful Prints
Good design prevents print failures. Users who understand design principles waste less time and material.
Orientation Matters
How a model sits on the build plate affects strength and surface quality. Layers bond weaker than solid material, so parts should orient with stress points running parallel to layers, not perpendicular.
Flat surfaces should face down when possible. This approach reduces support material and improves appearance on visible surfaces.
Support Structures
Overhangs beyond 45 degrees typically need supports. These temporary structures hold up drooping material during printing. Users remove them afterward.
Tree supports use less material and remove more easily than standard supports. But, they don’t work for all geometries. Testing both types helps users refine their 3D printing strategies.
Wall Thickness and Structural Integrity
Thin walls fail more often. A minimum of 1.2mm (three perimeter lines with a 0.4mm nozzle) provides adequate strength for most applications. Load-bearing parts need thicker walls.
Fillets and chamfers reduce stress concentrations at corners. Sharp internal corners tend to crack under pressure. Rounding these areas adds minimal material but significantly improves durability.
Splitting Large Models
Prints larger than the build volume require splitting. Smart 3D printing strategies use interlocking joints or alignment pins at split points. Gluing flat surfaces together rarely produces strong bonds.
Maintenance and Troubleshooting Best Practices
Regular maintenance prevents most common printing problems. Users who care for their equipment experience fewer failed prints.
Routine Maintenance Tasks
Nozzles clog over time, especially with composite materials. Cold pulls (heating the nozzle, inserting cleaning filament, letting it cool, then pulling it out) remove debris effectively.
Bed surfaces need cleaning. IPA (isopropyl alcohol) removes oils and residue from glass and PEI sheets. Some users wash their beds with dish soap periodically for deeper cleaning.
Belts stretch with use. Loose belts cause dimensional inaccuracy and ringing artifacts. Users should check tension monthly and tighten as needed.
Common Problems and Fixes
Stringing happens when melted filament drips between travel moves. Increasing retraction distance and speed usually fixes this. Lowering print temperature also helps.
Warping occurs when parts lift from the bed. Solutions include using a brim, increasing bed temperature, or improving bed adhesion with glue stick or hairspray. Enclosures help with ABS and other temperature-sensitive materials.
Layer shifts indicate mechanical problems. Loose belts, stepper motor issues, or cables catching on moving parts cause these failures. Users should inspect their machines when shifts occur.
Building a Troubleshooting Mindset
Successful 3D printing strategies include systematic problem-solving. When prints fail, users should change one variable at a time. Changing multiple settings makes it impossible to identify what worked.