A 3D printing guide can transform how hobbyists and professionals approach manufacturing, prototyping, and creative projects. This technology builds physical objects layer by layer from digital designs. Beginners often feel overwhelmed by printer options, material choices, and software requirements. This guide breaks down everything needed to start 3D printing successfully. Readers will learn how 3D printing works, which printer types suit different needs, what materials to use, and how to troubleshoot common issues. Whether someone wants to create custom parts, artistic pieces, or functional prototypes, the information here provides a solid foundation.
Table of Contents
ToggleKey Takeaways
- 3D printing builds objects layer by layer from digital designs using FDM (filament) or resin (SLA/MSLA) technologies.
- FDM printers offer the best starting point for beginners due to affordability, ease of use, and low maintenance costs.
- PLA filament is ideal for newcomers because it’s forgiving, easy to print, and produces consistent results.
- Proper bed leveling is critical for successful prints—always calibrate before your first print and after any adjustments.
- Common issues like warping, stringing, and layer adhesion failures can be resolved through systematic troubleshooting and slicer adjustments.
- Start with test prints like calibration cubes or benchy boats to confirm your 3D printer settings before tackling complex projects.
Understanding How 3D Printing Works
3D printing, also called additive manufacturing, creates objects by depositing material in successive layers. A digital file, typically an STL or OBJ format, provides the blueprint. Slicing software then converts this file into instructions the printer can follow.
The process starts with a 3D model. Users can design their own models using CAD software like Fusion 360, Tinkercad, or Blender. Alternatively, they can download pre-made designs from repositories like Thingiverse or Printables.
Once sliced, the file becomes G-code. This code tells the printer exactly where to move, how fast to travel, and when to extrude material. The printer reads these instructions and builds the object from the bottom up.
Most consumer 3D printers use one of two main technologies:
- FDM (Fused Deposition Modeling): Melts plastic filament and deposits it through a heated nozzle. This method is affordable and beginner-friendly.
- Resin (SLA/MSLA): Uses UV light to cure liquid resin layer by layer. Resin printers produce finer details but require more post-processing.
Understanding these basics helps users choose the right equipment and troubleshoot problems effectively. A 3D printing guide wouldn’t be complete without this foundational knowledge.
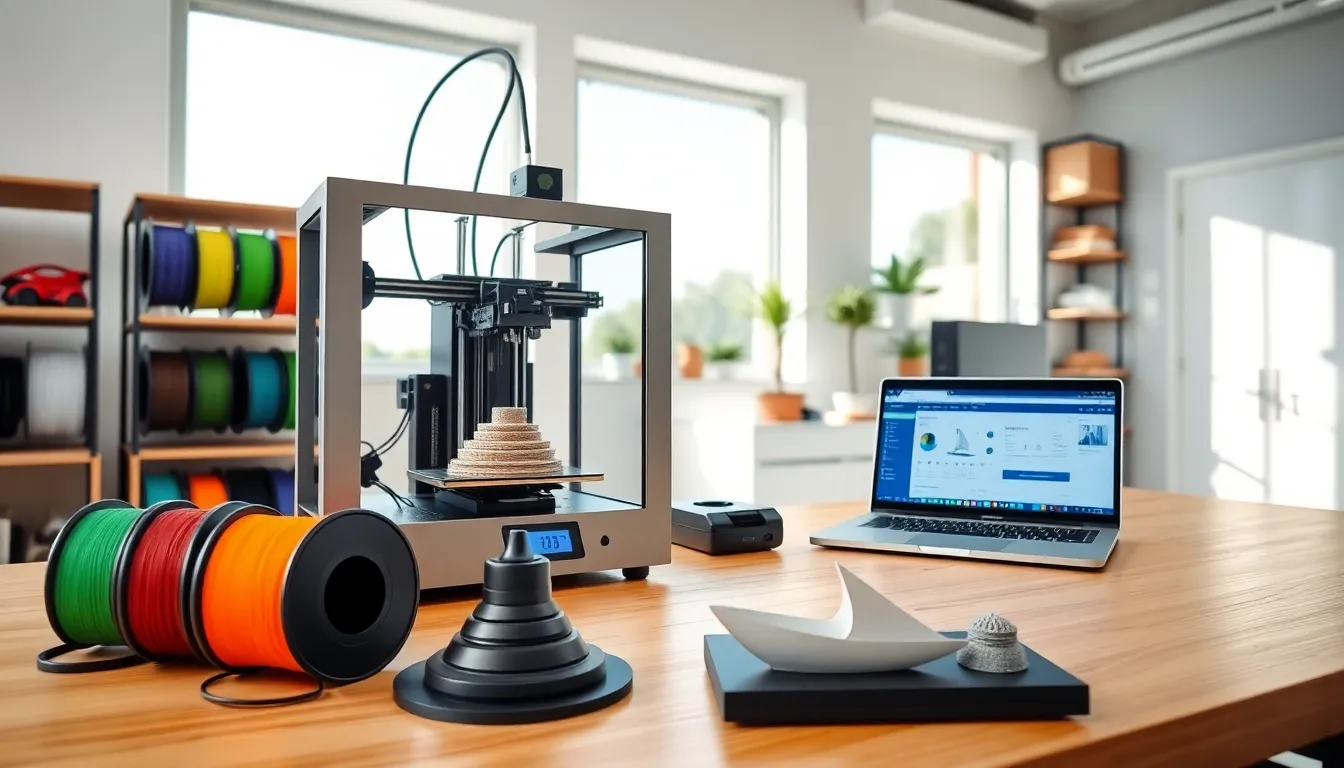
Types of 3D Printers for Beginners and Professionals
Choosing a 3D printer depends on budget, intended use, and skill level. Here’s a breakdown of popular options.
FDM Printers
FDM printers dominate the entry-level market. Models like the Creality Ender 3 and Prusa Mini offer excellent value. These machines work well for functional parts, toys, and household items. Filament costs stay low, and maintenance remains straightforward.
Professionals often upgrade to enclosed FDM printers like the Bambu Lab X1 Carbon or Prusa XL. These handle engineering-grade materials and offer faster print speeds.
Resin Printers
Resin 3D printers excel at producing detailed miniatures, jewelry, and dental models. The Elegoo Mars and Anycubic Photon series provide affordable entry points. Professional users gravitate toward the Formlabs Form 3 for its precision and reliability.
Resin printing requires ventilation and safety precautions. Uncured resin is toxic, so gloves and proper disposal methods are essential.
Industrial Options
Large-scale operations may require industrial 3D printers using SLS (Selective Laser Sintering) or metal printing technologies. These machines cost tens of thousands of dollars but produce production-ready parts.
For most users following this 3D printing guide, an FDM printer offers the best starting point. Once comfortable with the basics, branching into resin printing becomes easier.
Essential Materials and Filaments
Material selection directly affects print quality, strength, and appearance. Each filament type serves different purposes.
PLA (Polylactic Acid)
PLA remains the most popular 3D printing filament. It’s biodegradable, easy to print, and comes in countless colors. PLA works great for decorative items, prototypes, and educational projects. Print temperature typically ranges from 190°C to 220°C.
ABS (Acrylonitrile Butadiene Styrene)
ABS offers better heat resistance and durability than PLA. It’s ideal for functional parts that face mechanical stress. But, ABS requires higher temperatures and produces fumes, so enclosed printers with ventilation work best.
PETG (Polyethylene Terephthalate Glycol)
PETG combines PLA’s ease of printing with improved strength and flexibility. It resists moisture and chemicals better than PLA. Many users consider PETG the best all-around filament for functional prints.
Specialty Filaments
- TPU: Flexible filament for phone cases, gaskets, and wearables
- Nylon: Strong and wear-resistant for mechanical parts
- Carbon Fiber: Reinforced filaments for structural applications
- Wood/Metal Fill: Aesthetic filaments that mimic natural materials
Resin Types
Standard resins work for most applications. Tough resins handle impact better. Flexible resins create bendable parts. Water-washable resins simplify cleanup.
This 3D printing guide recommends beginners start with PLA. It forgives mistakes and produces consistent results while users learn their machines.
Setting Up Your First 3D Print
Getting that first successful print requires preparation. Follow these steps for smooth results.
Assemble and Calibrate
Most 3D printers arrive partially assembled. Follow the manufacturer’s instructions carefully. After assembly, level the print bed, this step matters enormously. An uneven bed causes adhesion failures and ruined prints.
Many modern printers include auto-leveling features. Even so, running a manual check improves results. Use a piece of paper between the nozzle and bed. Adjust until slight resistance occurs when moving the paper.
Choose Slicer Software
Popular slicers include Cura, PrusaSlicer, and Bambu Studio. These programs convert 3D models into printable G-code. Start with default profiles for your specific printer and filament combination.
Key settings to understand:
- Layer Height: Smaller values (0.1mm) create smoother surfaces but take longer
- Infill: Internal structure density: 15-20% works for most prints
- Print Speed: Slower speeds improve quality for beginners
- Supports: Enable for overhanging geometry
Run a Test Print
Before attempting complex models, print a calibration cube or benchy boat. These standard tests reveal issues with settings or hardware. A successful test print confirms the 3D printer is ready for real projects.
Monitor the First Layer
Watch the first layer closely. It should adhere firmly without gaps or excessive squishing. If problems appear, stop the print and adjust bed leveling or temperature settings.
Following this 3D printing guide’s setup process prevents frustration and wasted materials.
Common 3D Printing Problems and How to Fix Them
Even experienced users encounter issues. Here are frequent problems and their solutions.
Warping
Prints curl up from the bed, especially at corners. Causes include poor bed adhesion, drafts, or cooling too quickly. Solutions:
- Clean the bed with isopropyl alcohol
- Use a heated bed (60°C for PLA, 100°C for ABS)
- Apply adhesion aids like glue stick or hairspray
- Enclose the printer to block drafts
Stringing
Thin threads appear between parts of the print. This happens when filament oozes during travel moves. Fixes:
- Increase retraction distance and speed in slicer settings
- Lower print temperature by 5-10°C
- Enable “wipe” or “coasting” features
Layer Adhesion Failures
Layers separate or appear weak. Common causes include low temperature or excessive cooling. Try:
- Raise hotend temperature
- Reduce cooling fan speed
- Check for clogged nozzle
First Layer Issues
The first layer won’t stick or looks squished. This usually indicates bed leveling problems. Re-level the bed and ensure proper nozzle height. Adjusting Z-offset in firmware also helps.
Under-Extrusion
Prints look thin or have gaps. The 3D printer isn’t pushing enough material. Check for:
- Clogged nozzle
- Incorrect filament diameter settings
- Worn extruder gear
- Tangled filament on the spool
Most 3D printing problems have straightforward fixes. Patience and systematic troubleshooting resolve nearly every issue.